

These cinnamon rolls use yeast to get a light and fluffy texture, but they’re still very forgiving even for beginner bakers. Making cinnamon rolls from scratch tastes so much better than from a can or even from the mall!

Cinnamon rolls! I know that I typically get creative with my desserts. Sometimes I do fun Asian twists like substituting yuzu in a key lime pie. Other times I make Asian desserts like mochi, but throw in some funfetti. But to be honest, a lot of times the desserts I make at home over and over again are the simple ones from my childhood. I remember my Chinese grandma letting me help her make cinnamon rolls on countless afternoons after school. Her cinnamon roll recipe is easy and basic, exactly what I want when I’m feeling nostalgic. And if you’re new to baking, this is a great recipe for a beginner.
Baking with Yeast in Cinnamon Rolls – Tips for Beginners
Before you get started, you should know that you’ll be working with yeast. The first time I baked with yeast, I was overwhelmed by the seemingly complicated instructions on the internet. Do I need to check if my yeast is good? How do I know when it’s done rising? Do I need to knead my dough?
I’m here to tell you not to worry. This recipe is very forgiving. It uses dry active yeast, which means you will need to mix it with warm milk and check in five minutes to make sure it’s become frothy at the top, which means your yeast is activated. Alternatively, you could also use instant yeast, in which case, you don’t need to worry. Just dump everything together.
You also won’t need to knead anything. In fact, you’ll want to make sure not to overwork your dough. Mix your ingredients until they are JUST combined. This will let the yeast do its thing and give you a super fluffy, airy texture in your cinnamon rolls.
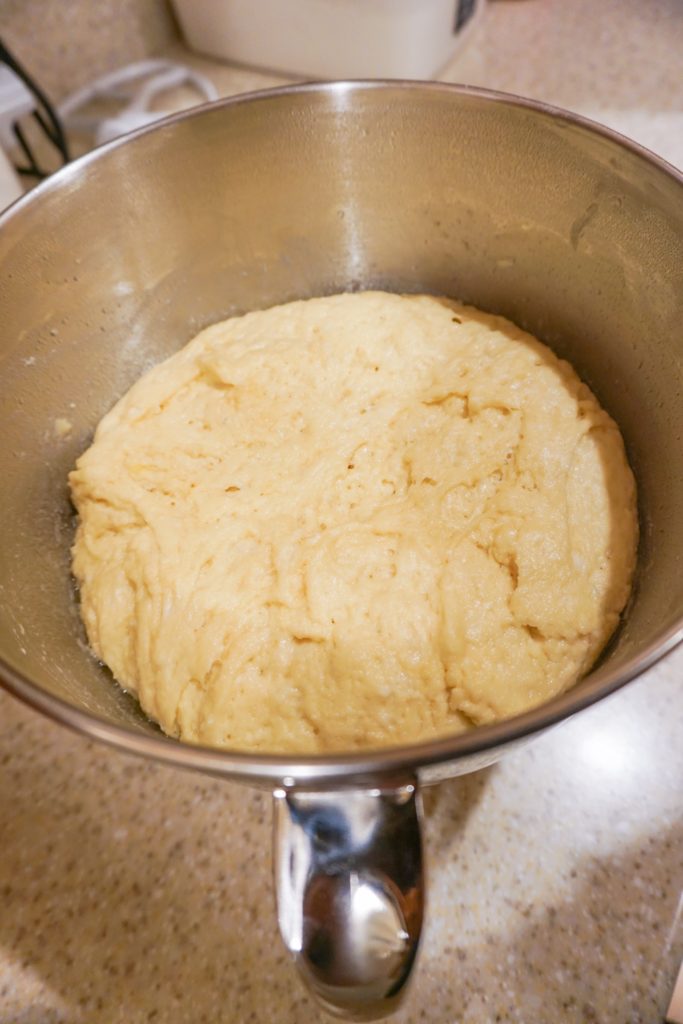
The only real trick you need to keep in mind is that you’ll want to allow yourself a lot of time because there are two “rises,” or resting periods. The first will be about two hours and the second about a half hour. You’ll also need a warm spot to let the dough rise. Now, when I say warm, I’m really talking 65-74 degrees F. So if it’s a hot summer day and you don’t have AC, you might actually want to place it in a cooler spot in your kitchen. On the other hand, if it’s the middle of winter and you don’t turn on the heat because you want to save money (is this just an Asian thing?), try putting it somewhere not so drafty, like inside a microwave.
If you’re nervous about working with yeast, you can check your dough after about an hour. It should look at least a little big bigger and puffier than what you started with. If it looks exactly the same as when you left it to rise, something is probably wrong and you may need to start over. But as long as you followed the directions, it should all be fine! After two hours, your dough should have expanded to almost fill the container and be visibly full of air. Depending on how cold your kitchen is, it may take up to a half hour less or more time than that, but two hours is a safe estimate in most cases.
How To Roll a Perfect Cinnamon Roll Spiral
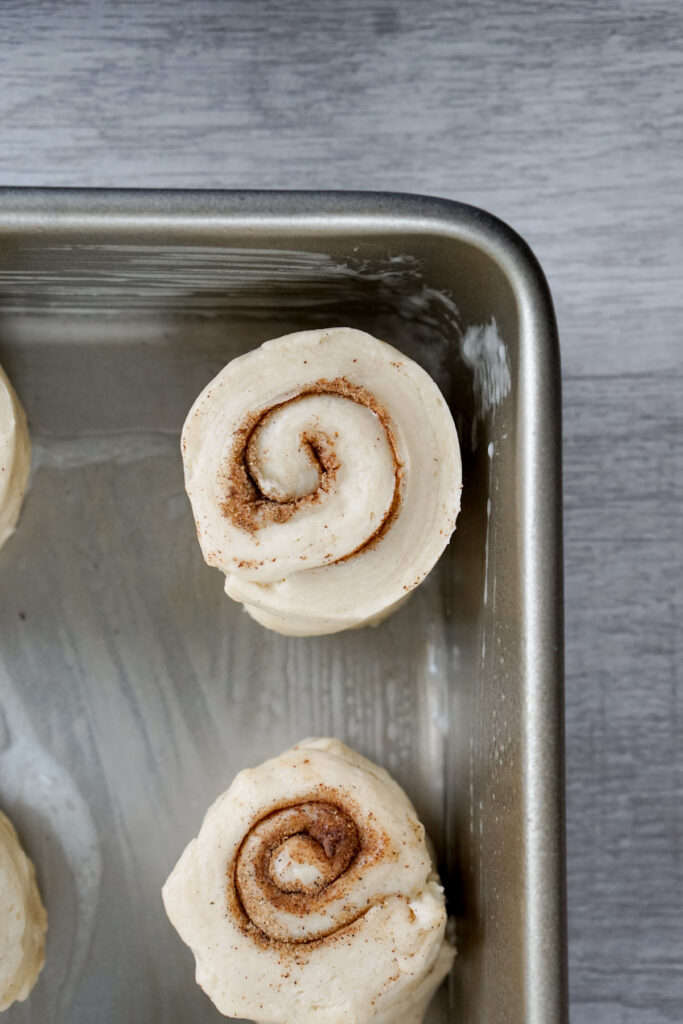
A lot of cinnamon roll recipes tell you to roll the dough into a long log and then slice into twelve rolls. I have never done this well.
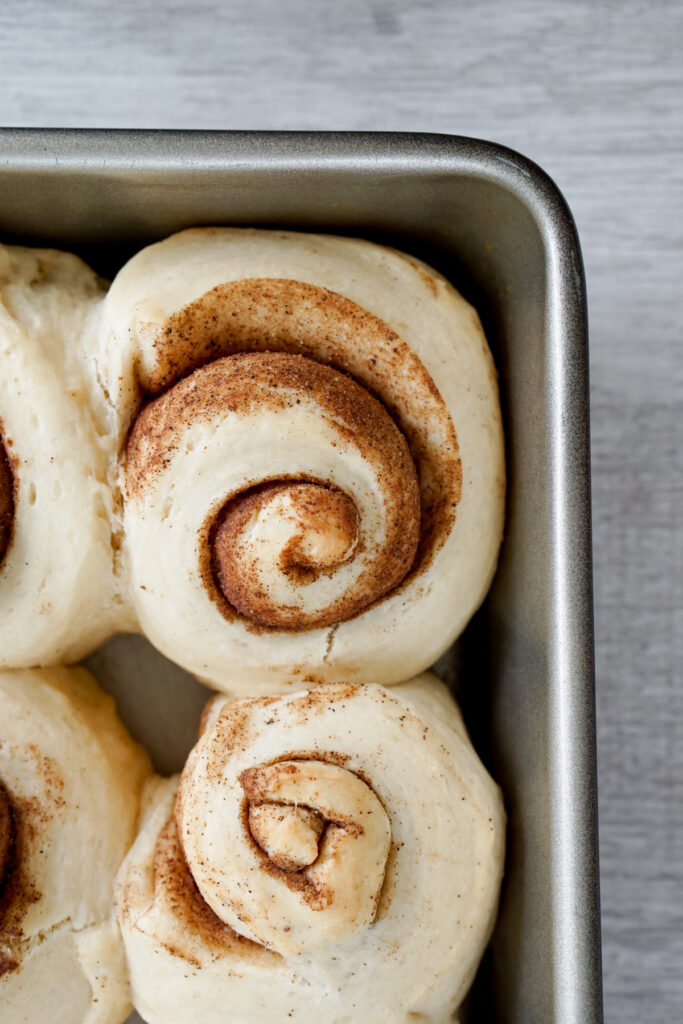
Instead, I find I get really nice spirals when I slice the dough down the middle and then into 12 equal strips (6 on the left, 6 on the right). The strips are about 1.5 inches by 6 inches. Then, I roll each individual strip into a cinnamon roll. They look so much neater than when I try to slice a soft log of dough! I’ve heard of using floss to slice the logs of dough, but that seems like more fuss than I’d like.
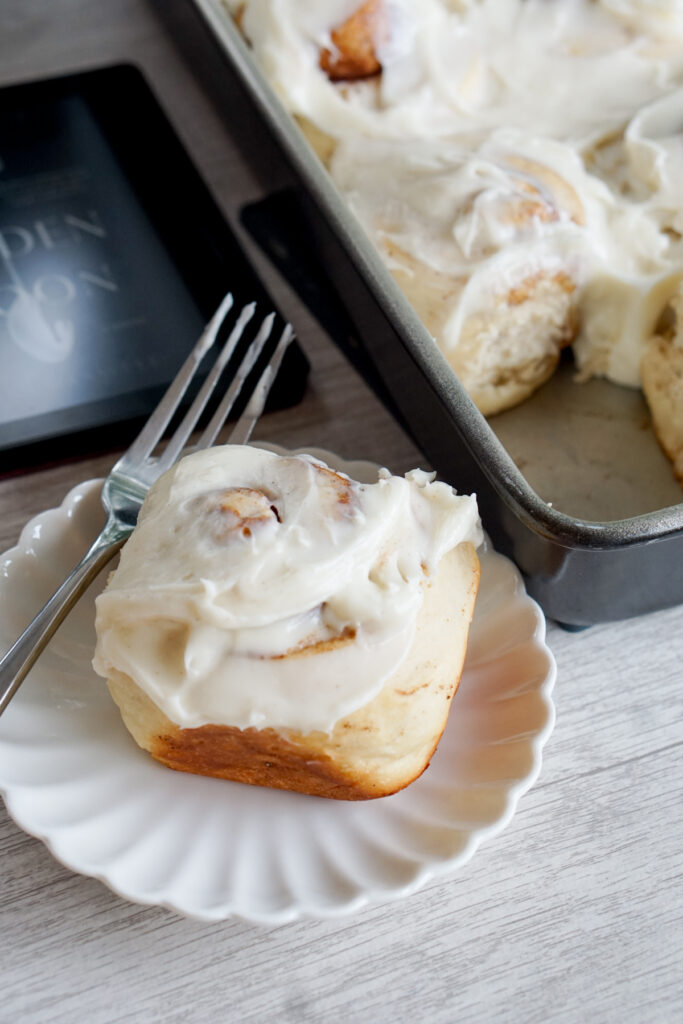
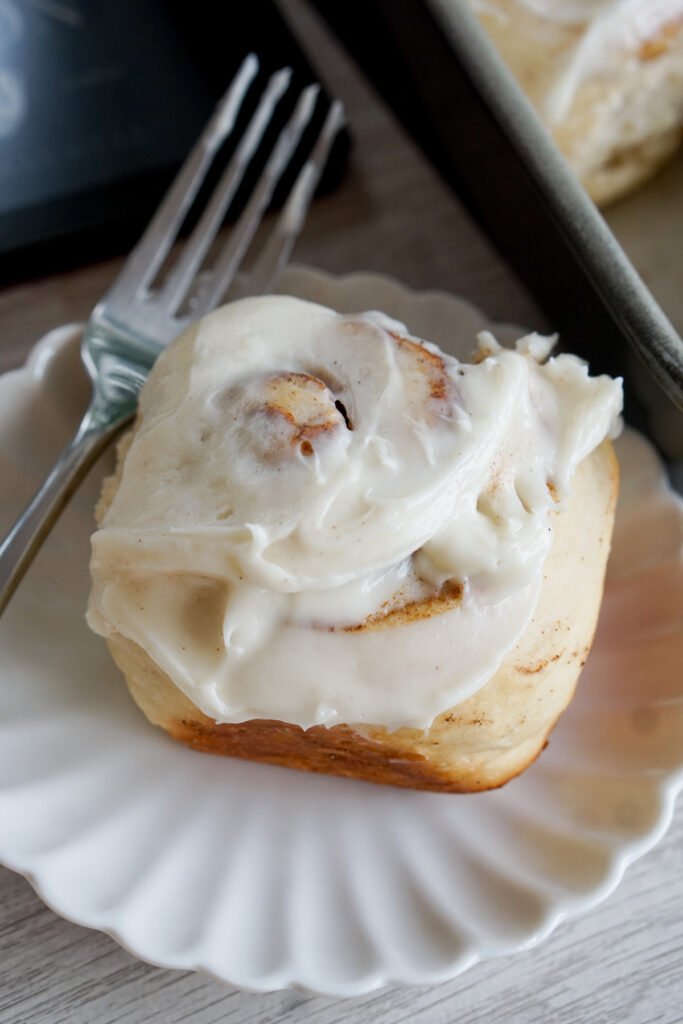
How Much Cream Cheese Frosting for Cinnamon Rolls
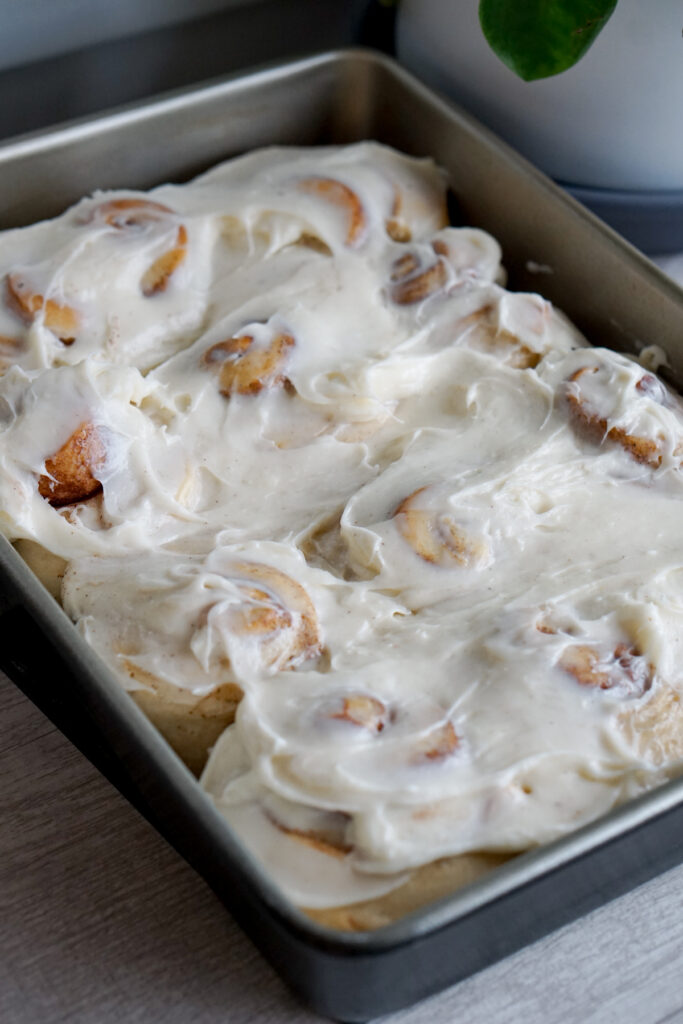
The cream cheese frosting (using 4oz of cream cheese) is about half what I usually make to frost a dozen cupcakes. It’ll be just enough to cover your tray of cinnamon rolls. But if you are a huge frosting fan, I recommend you double the amount. Maybe have a little extra frosting on the side of each roll?

Cinnamon Roll Flavor Variations
This recipe is also very basic in terms of flavor. It’s got a fluffy roll and lots of cinnamon and that’s good enough for me. BUT, if you are wanting to spice some things up, feel free to add chopped nuts or vary the spices. A chai spice mix in a cinnamon roll sounds good, no? Whatever you choose, the best place to incorporate it into the recipe is to add it to the step where you sprinkle cinnamon over the dough.
More Home Baking Recipes
Want to make more of your favorite desserts from scratch? Try these out:


Easy Cinnamon Rolls From Scratch
Ingredients
For the Cinnamon Rolls
- 3/4 cup butter melted
- 1/4 cup sugar
- 2 eggs
- 1 cup milk warmed
- 3/4 tsp salt
- 4 cups flour
- 2 1/4 tsp dry active yeast (or one packet)
- 3 tbsp cinnamon
For Cream Cheese Frosting*
- 1 cup powdered sugar
- 2 tbsp butter softened
- 4 oz cream cheese softened
- 1 tsp vanilla
Instructions
- Mix 1/2 cup of melted butter with milk and yeast.
- In a separate bowl, whisk salt, sugar, and flour.
- Check your wet ingredients to make sure your yeast has become slightly frothy at the top. That means your yeast is working. If your yeast has not frothed or foamed at all, you may need to try a new pack. Assuming your yeast is fine, add wet and dry ingredients together and add eggs. Mix until all ingredients are incorporated and homogenous, but do NOT knead the dough.
- Place dough in a greased, sealed container and place in warm spot to rise for about two hours or until doubled in size. At this point, you can either continue making the recipe or place your sealed container in the fridge to use at a later time.
- Roll dough out into a rectangle roughly 12-14 inches wide. The dough should be somewhere between 1/4 and 1/2 inch thick.
- Brush the rectangle of dough with remaining melted butter. Generously sprinkle cinnamon over the dough, leaving no empty patches.
- Slice the rectangle once in half vertically and then five times horizontally, so you get 12 strips each about 1.5 inches wide and 6 inches long. Roll each strip into a tight spiral.
- Lay the cinnamon roll pieces flat in a greased 9×13" baking dish, leaving space between each piece for the next rise.
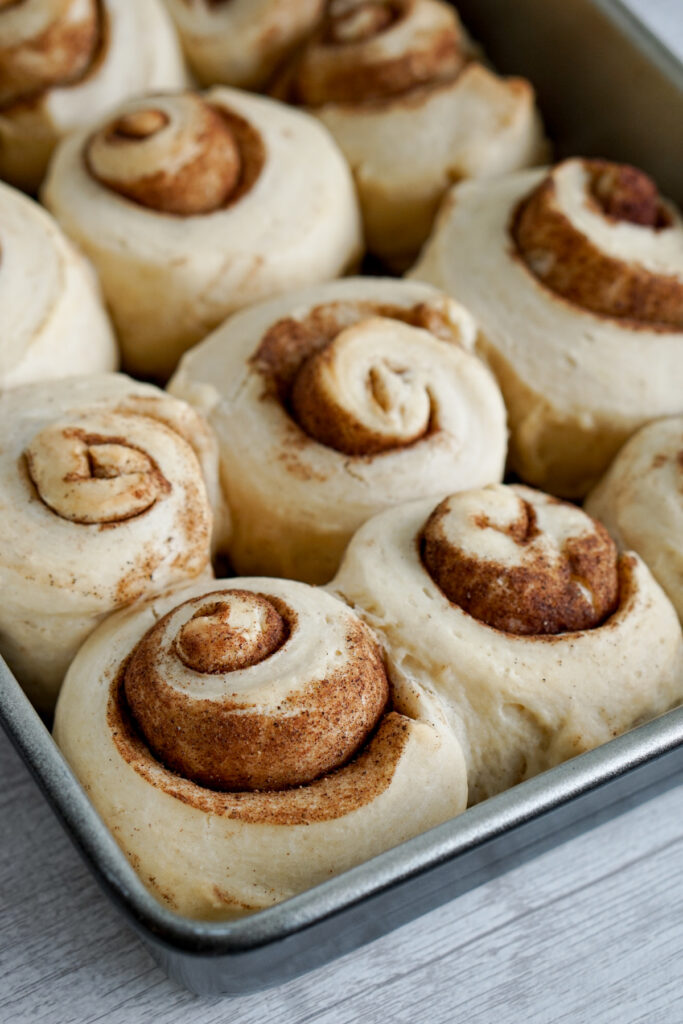
- Cover the dish and let rise for another half hour. Meanwhile, preheat your oven to 350 degrees F.
- After 30 minutes, your cinnamon rolls should look puffy and be almost touching. Place in oven and bake for about 25 minutes.
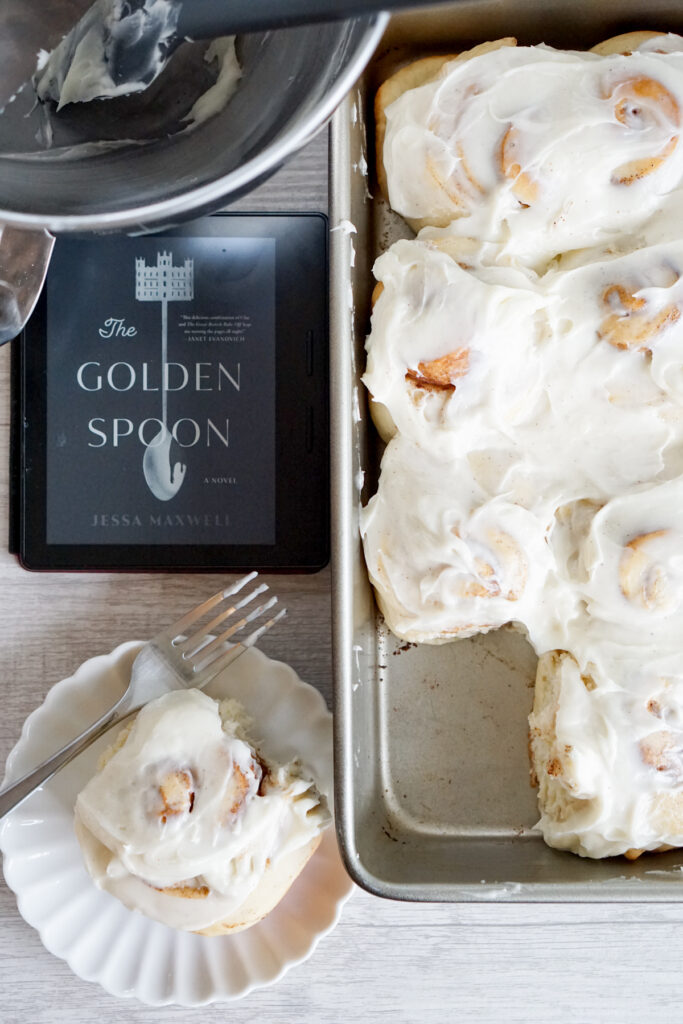
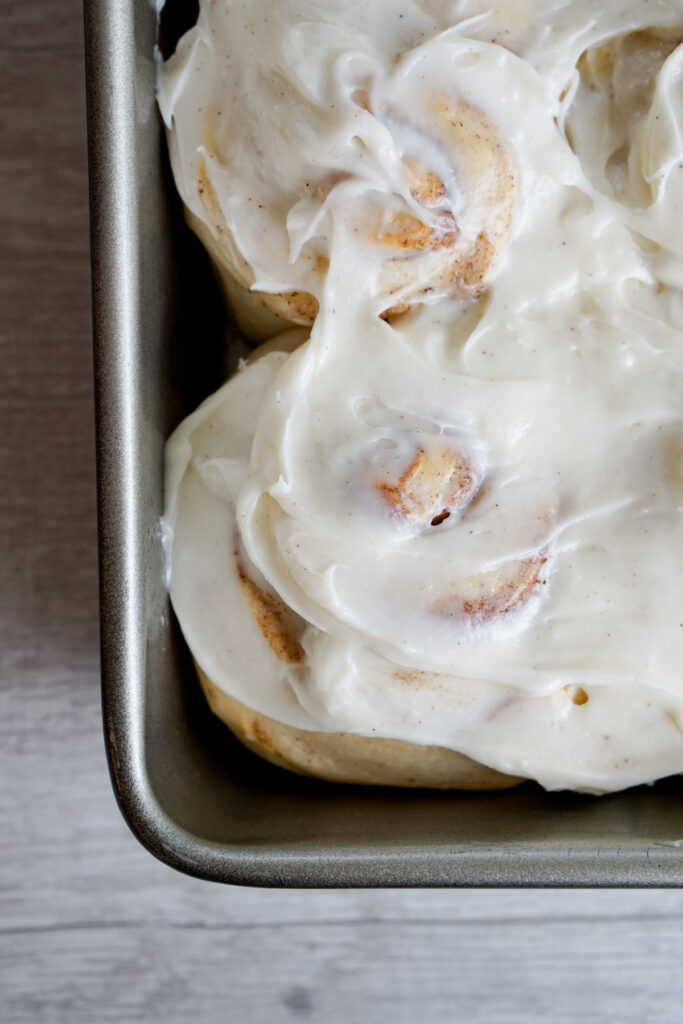
- When rolls are done, let them cool almost completely to room temperature. Meanwhile, make the frosting by beating all ingredients together either in a stand mixer or with an electric beater.
- When cinnamon rolls have cooled, smother with frosting and enjoy!