

Haupia is a coconut pudding that uses just four ingredients. It’s a Hawaiian dessert found at lu’aus that is naturally vegan and gluten free! Disclaimer: This post may contain affiliate links.

What is Haupia?
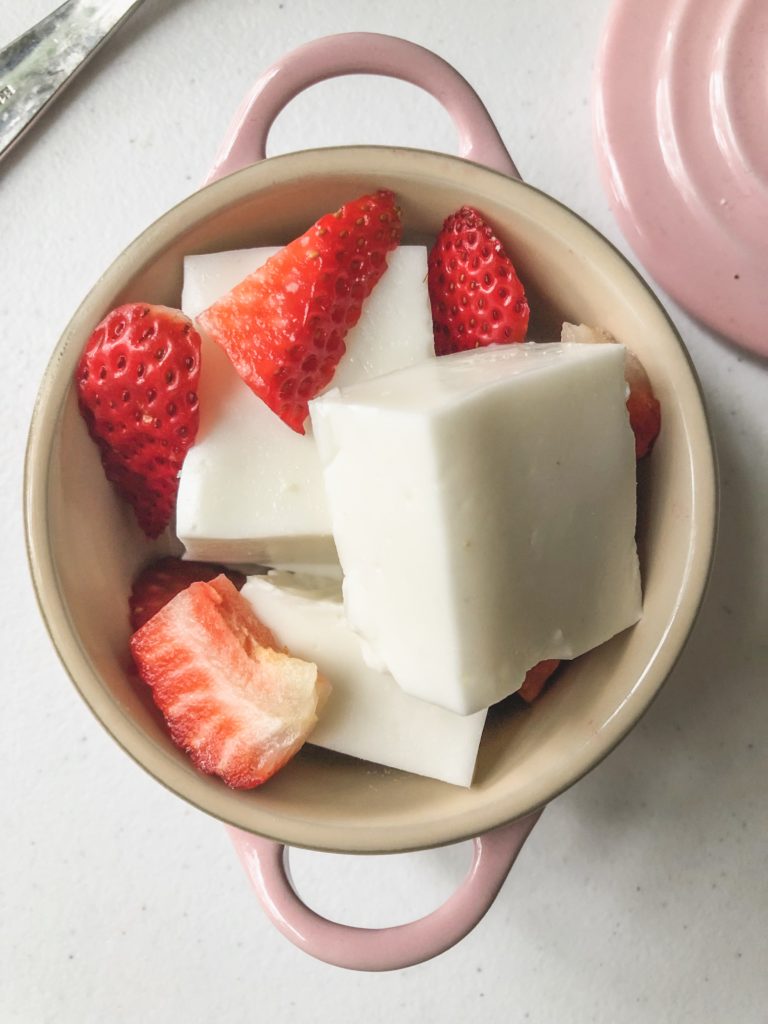
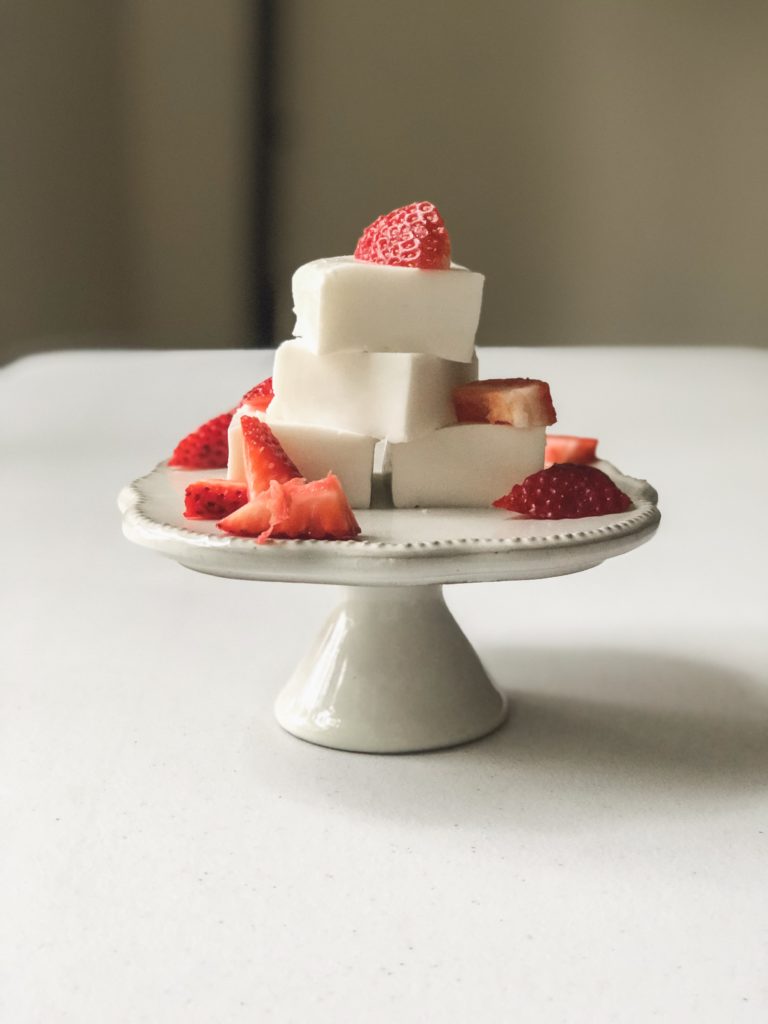
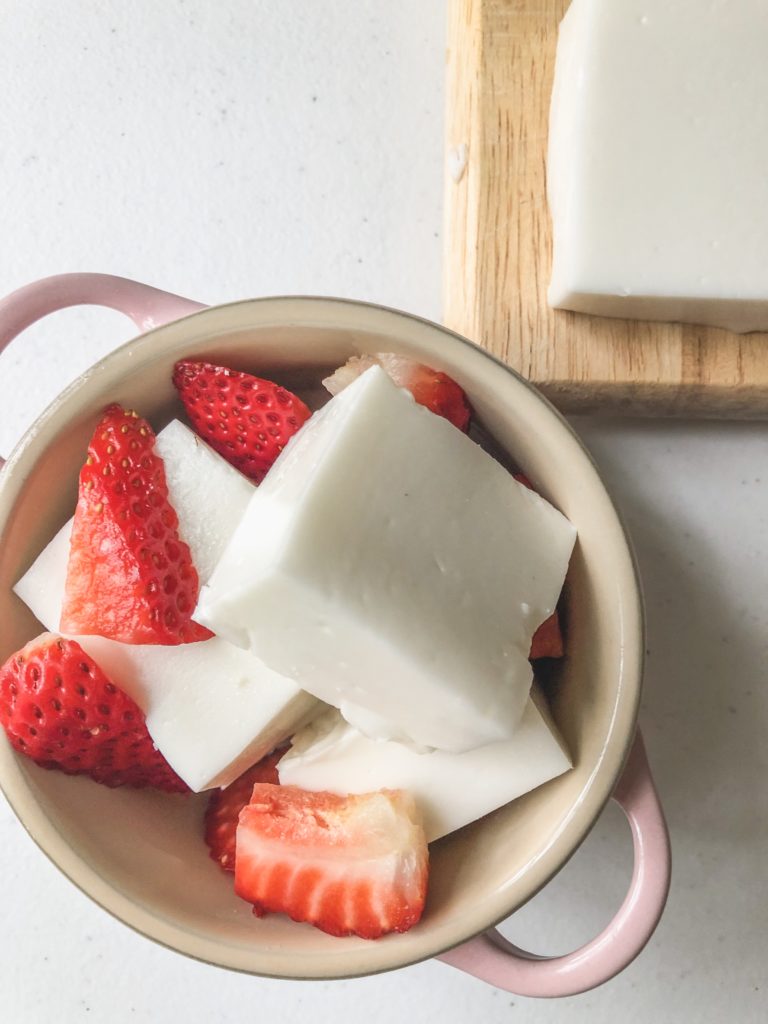
Haupia is a Hawaiian dessert, sometimes described as a coconut pudding. When I brought it into work to share, someone said it reminded them more of a coconut jello. I believe it’s also very similar to the Puerto Rican coconut pudding, tembleque. Haupia is creamy, refreshing, gluten free, and vegan. It only takes FOUR ingredients that you probably already have in your pantry. I can whip this up on the stovetop in about 10 minutes. But you do have to let this set in the fridge for a couple of hours; I typically leave mine overnight.
Unlike most of the Asian-Hawaiian fusion recipes that I typically feature on my blog, haupia has roots in indigenous Hawaiian cuisine. This specific haupia recipe came from my old Japanese church cookbook. It’s a collection of recipes from the Japanese American grandmas and grandpas from the church I grew up at as a kid, many of whom grew up in Hawai’i.
You can find haupia at lu’aus, but you can also find modern variations of haupia at bakeries and cafes around Hawai’i. For example, I’ve seen malasadas filled with haupia, different flavors of haupia, and haupia layered onto pies and cakes.
How to Pronounce Haupia
Haupia is pronounced “how-PEE-uh” with the emphasis on the second syllable.
About Haupia Ingredients and Substitutions
Haupia is a very simple recipe that uses only four ingredients. Typically, the ingredients are coconut milk, sugar, some sort of thickener like cornstarch, and water. My haupia recipe uses additional coconut milk instead of water, so it’s extra coconutty and creamy! I also sometimes like to add a drop of coconut extract. Can you tell I really like coconut flavor? But you could always omit the extract and use water for your slurry instead of coconut milk as well.
For the coconut milk, make sure you buy unsweetened and full fat! That reduced fat stuff just doesn’t cut it.
If you want to use a different thickener other than cornstarch, go for it. I always use cornstarch, so I can’t say for sure how to change your technique or amounts. But if you always use something other than cornstarch to thicken soups and stews, feel free to give it a try.
Tips for Making Haupia
Making haupia is super easy, but there are a few spots where the recipe can go wrong. For one, definitely make sure you are continuously whisking your haupia as you cook it on the stove. It can thicken very quickly and you don’t want lumps. Speaking of lumpy haupia, please don’t skip the step of making a cornstarch slurry. Mixing the cornstarch with room temperature liquid also helps it from becoming clumpy.
Cornstarch gelatinizes at 203 degrees F, but if it’s left to boil, the molecules can deflate, resulting in your mixture becoming runny again. So add in your slurry right when the coconut milk is bubbling and take it off the heat after your mixture has thickened.
Lastly, make sure you give yourself enough time to let the haupia set in the fridge. I recommend at least four hours, but your best bet is to leave it overnight.
Haupia Dessert Variations and More Hawaiian Desserts
Looking for more haupia and haupia-like desserts? Check these out:


Haupia Recipe
Ingredients
- 2 13.5 oz cans coconut milk
- 5 tbsp cornstarch
- 6 tbsp sugar
- 1 tsp coconut extract (optional)
Instructions
- Whisk cornstarch, sugar, and one cup of coconut milk. Set aside.
- Heat remaining coconut milk on the stovetop in a saucepan until bubbling.
- While whisking the boiling coconut milk, slowly pour in the cornstarch mixture.
- Continuously whisking, bring the mixture back up to a simmer. Continue whisking for another minute to let the mixture thicken but do not bring to a full boil.
- Take coconut mixture off the heat. Whisk in the coconut extract, if using. Pour haupia mixture into a nonstick or greased 8×8" pan.
- Cover with plastic wrap pressed directly onto the surface of the haupia mixture. This prevents it from developing a dried out skin on the surface.
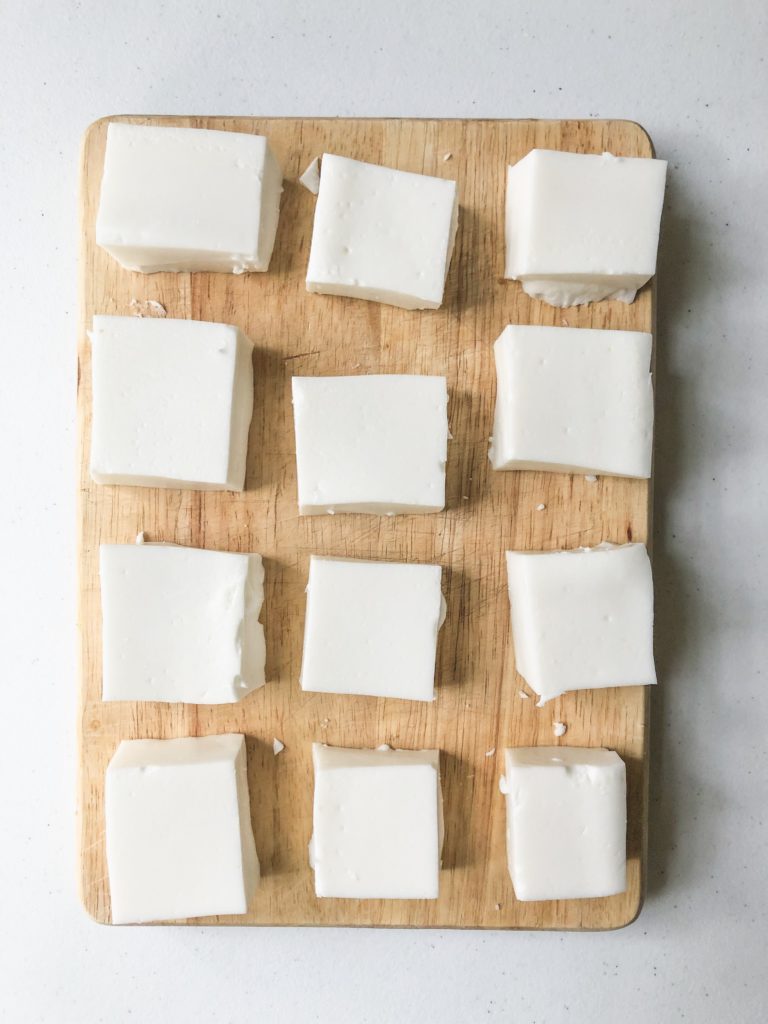
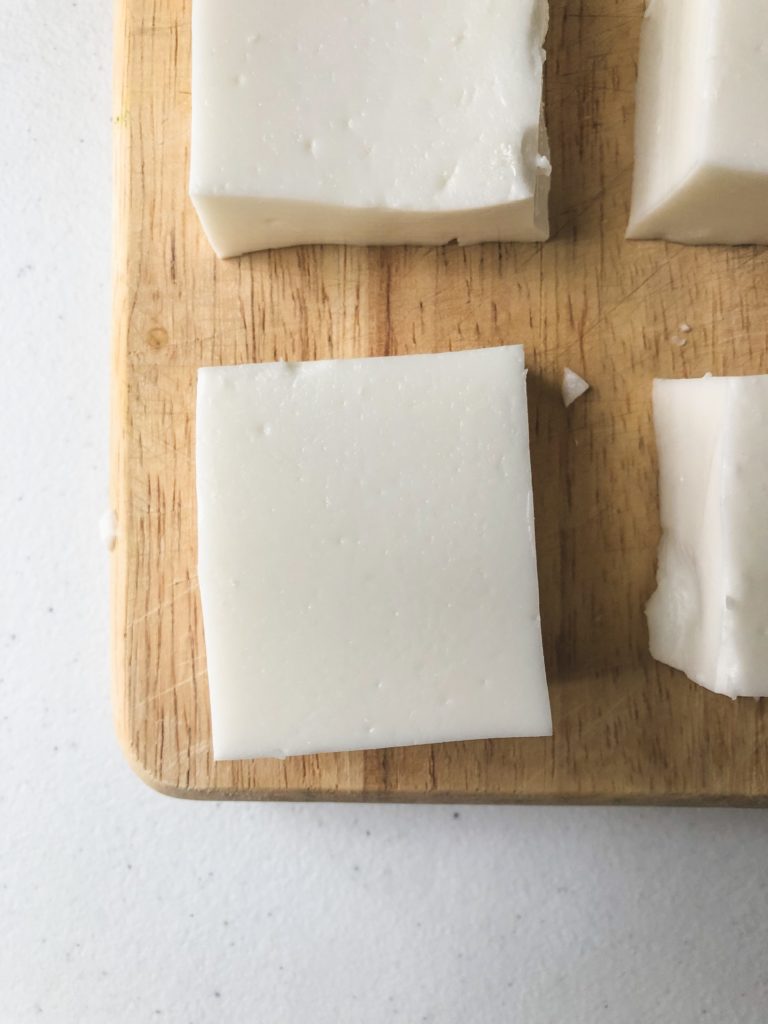
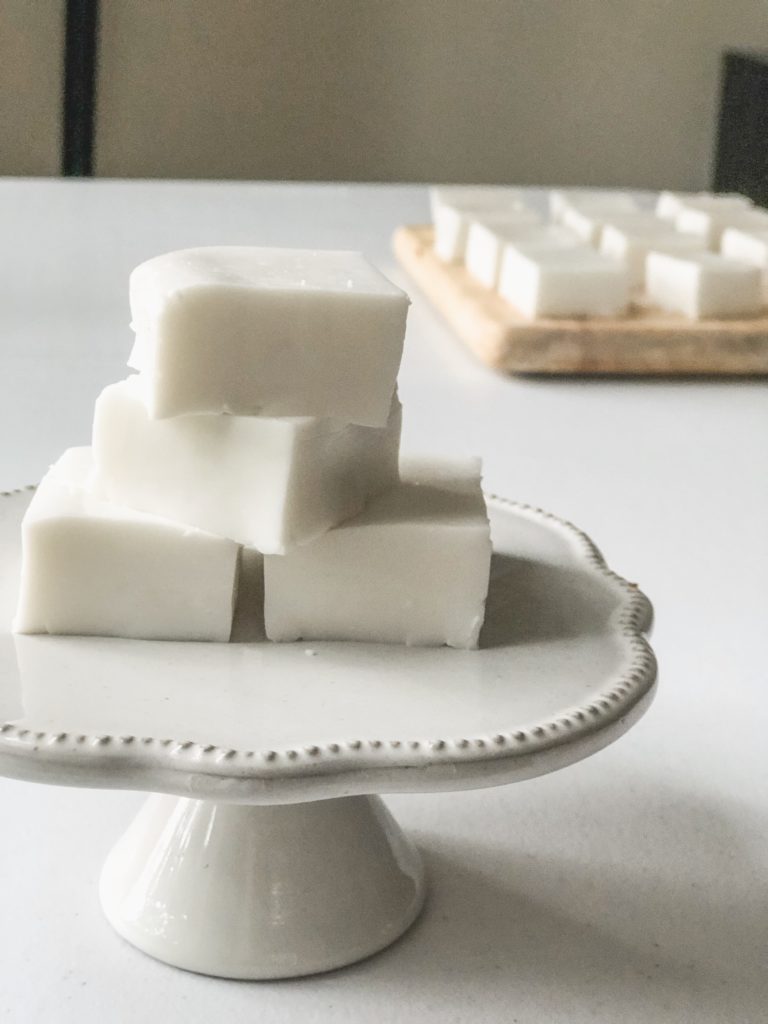
- Let set in the fridge for four hours or overnight. When set, cut into rectangles, and it's ready to serve!