

Warabimochi is a popular dessert in Japan. It’s a mochi-like jelly covered in kinako, or roasted soybean powder. Even if you don’t live near a Japanese market, you can make this easily at home with some warabimochi flour substitutions. Bonus: warabimochi is also naturally vegan and gluten free! Disclaimer: This post may contain affiliate links.

Warabimochi is one of my favorite Japanese confections! It’s chewy and soft, like mochi, and covered in kinako, one of my favorite flavors. You can make warabimochi at home fairly easily. Even if you don’t live near a Japanese market, you can get really decent ingredient substitutions and still wind up with a fairly authentic dish.
What is Warabimochi?
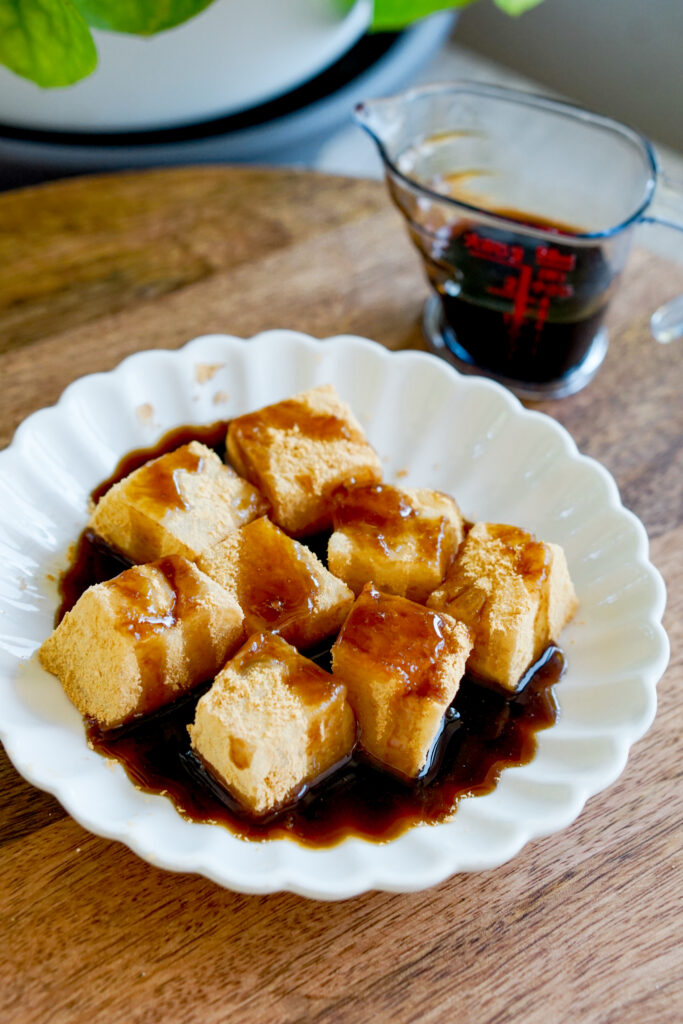
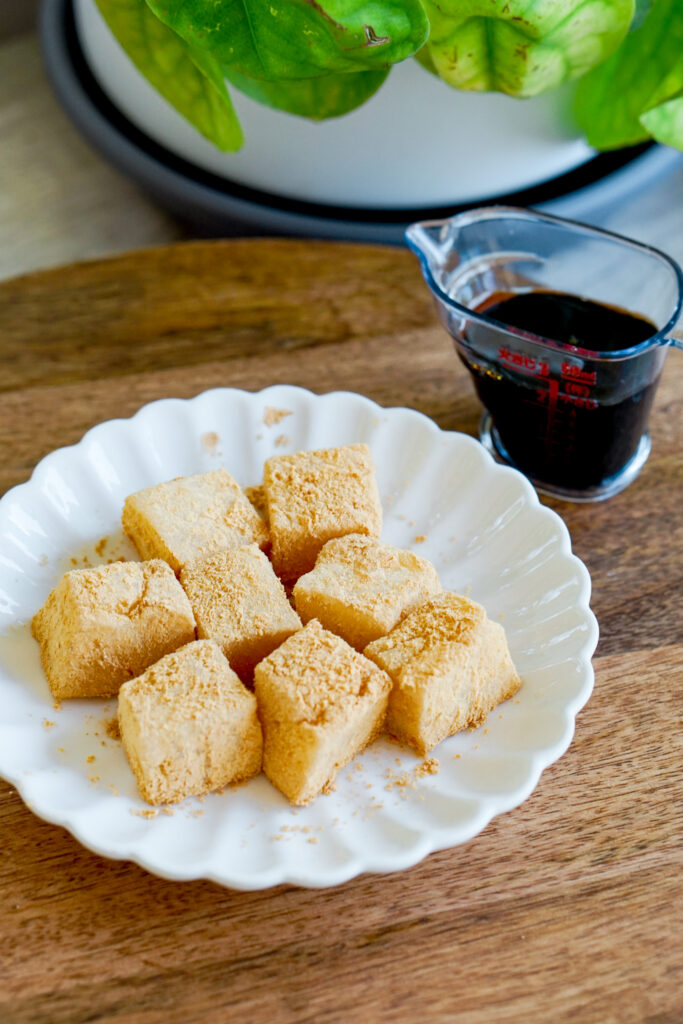
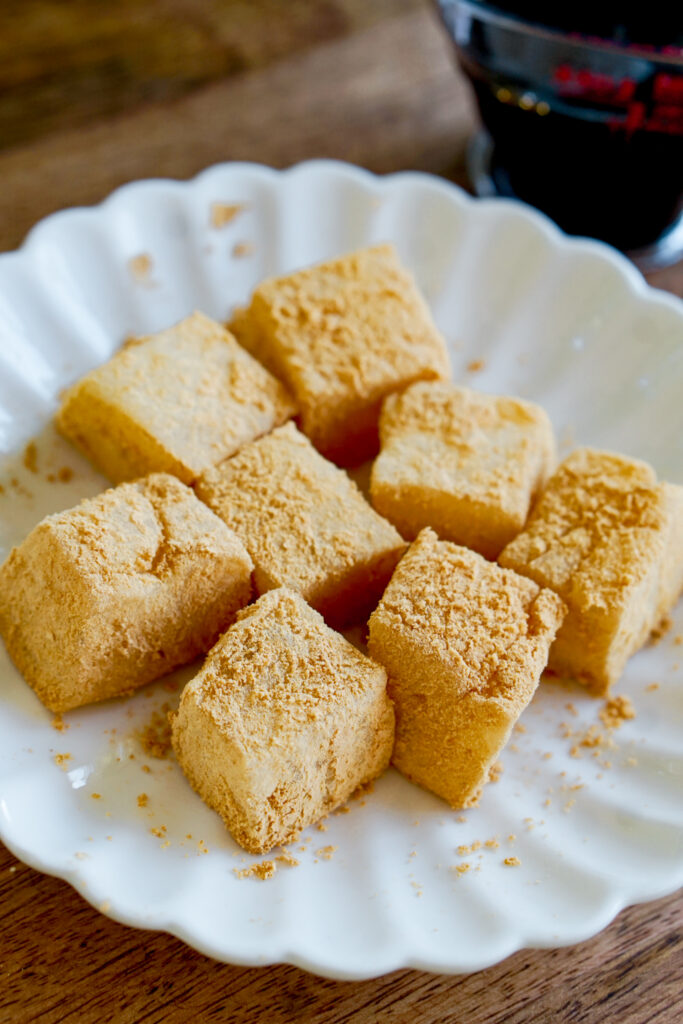
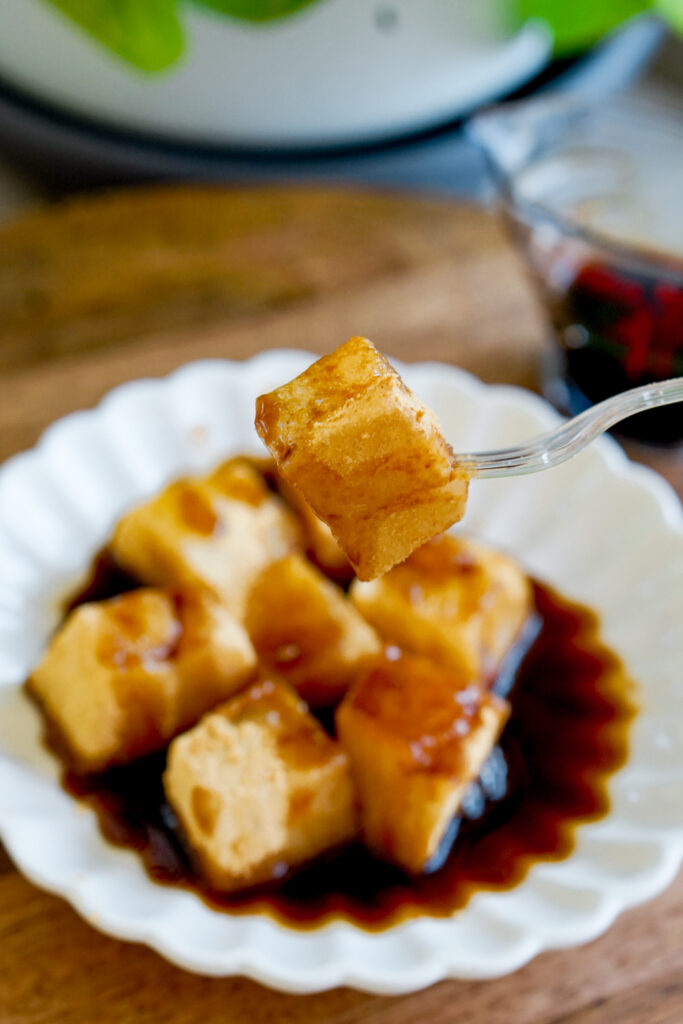
Despite its name, warabimochi is not a type of mochi, as it does not contain any rice. Instead, true warabimochi is a jelly made from bracken starch, bracken being a type of fern and the starch coming from its roots. Warabimochi does, however, have a mochi-like texture, which is soft, chewy, and bouncy. You typically find warabimochi cut into squares or rectangles and covered in a light brown powder called kinako (i.e. roasted soybean powder). To finish off the presentation, you pour kuromitsu, or Japanese dark brown sugar syrup, over the warabimochi just before eating.
Warabimochi Flour and Substitutions
Traditional warabimochi is made from hon warabiko, which comes from the root of the bracken fern, as previously mentioned. However, even in Japan, hon warabiko is hard to come by. I heard that if you want to eat real warabimochi, you need to go to Nara or Kyoto (Side note: I’ve been to both Nara and Kyoto and somehow forgot to eat warabimochi?! Guess it’s time to go back). More commonly used is warabimochiko, which is a substitute flour made from sweet potato starch, tapioca starch, or Japanese arrowroot starch.
Even my package of warabimochiko bought from a Japanese market listed arrowroot starch as the only ingredient. So if you can’t find either hon warabiko or warabimochiko, I recommend using tapioca starch as a substitute, which is easier to find in American grocery stores. Alternatively, you could look for Japanese arrowroot starch, also known as kuzu, which is available on Amazon but is VERY EXPENSIVE. If I were you, I’d just go for the tapioca starch.
Making Warabimochi
In general, to make warabimochi, you mix all the ingredients, cook them on stovetop, then chill and cut into squares. Overall, I find it to be pretty simple! The only place where things might get tricky is the stovetop cooking.
I’ve seen different directions for how to cook warabimochi on stovetop. My specific bag of warabimochiko instructed me to boil the liquid and then turn down the heat. The bag specifically said that the finished product would be not be completely translucent.
However, I’ve seen other instructions that say NOT to let the mixture boil and that you should cook until perfectly translucent. I assume the differences may depend on the type of starch used. For me, I did not have to wait until the mixture boiled to see the liquid starting to clump up into a jelly, so I turned the heat down at that point and continued cooking until almost all the liquid was gone and the resulting product was fairly translucent and evenly colored.
I think for this you’ll have to use your cooking intuition, but it seems safe to say that you want to heat your mixture until it turns thick like glue and stir, stir, stir until uniform in color, whether that’s super translucent or still slightly cloudy.
How Much Water to Add for Warabimochi
Just like with mochiko, warabimochiko can handle a large amount of liquid. The amount of water you add will determine how firm or loose the end texture will be. For a firmer texture that will cut easily and hold its shape in rectangles, use around a 4:1 ratio of liquid to starch (I did 450mL water to 100g starch for the warabimochi in these photos). For a looser texture that is softer but not as structured, you can do something around 6:1 (600mL water to 100g starch).
Kinako and Kuromitsu
You typically serve warabimochi with kinako and kuromitsu, a match made in Japanese flavor heaven.
Kinako is roasted soybean powder. It has a nutty taste, and is SO GOOD. I cannot even describe it adequately. My Auntie Karen always says she thinks it tastes like peanut butter.
Kuromitsu is Japanese brown sugar syrup. It’s made from a super dark brown sugar, kurozato, which translates to black sugar. As an unrefined sugar, kurozato has a strong molasses flavor. Kuromitsu is also similar to the Taiwanese brown sugar syrup used in boba!
You can buy kuromitsu in Japanese markets and on Amazon (again, VERY expensive!), or you can use my recipe to make your own. It’s as easy as dissolving brown sugar in water. And very versatile! Use it to make your own brown sugar milk drinks, in coffee, on waffles or pancakes, or make my microwave milk mochi.
More Mochi Recipes
If you love that chewy mochi texture, check out these other mochi and mochi-like treats!
- Easy Homemade Mochi (Chi Chi Dango)
- Rainbow Mochi
- Classic Hawaiian Butter Mochi
- Ichigo Daifuku (Stuffed Mochi)


Soft and Chewy Warabimochi Recipe
Ingredients
- 100 g warabimochiko See notes for substitutions
- 100 g granulated sugar
- 450 mL water See notes
- 30 g kinako for dusting about 1/4 cup
- 1 tbsp kuromitsu (brown sugar syrup)
Instructions
- In a small pot, mix warabimochiko, sugar, and water.
- Place pot over medium-high heat and cook, stirring until the mixture starts to thicken.
- Reduce to medium heat and continue stirring. The liquid should begin to clump up and form glue-like lumps.
- When most of the liquid has become jelly-like, turn off the heat and continue vigorously stirring as the residual heat finishes cooking the remaining liquid and the globs of jelly look uniform in color. It should be much less opaque than in liquid form, but it will not turn completely translucent.
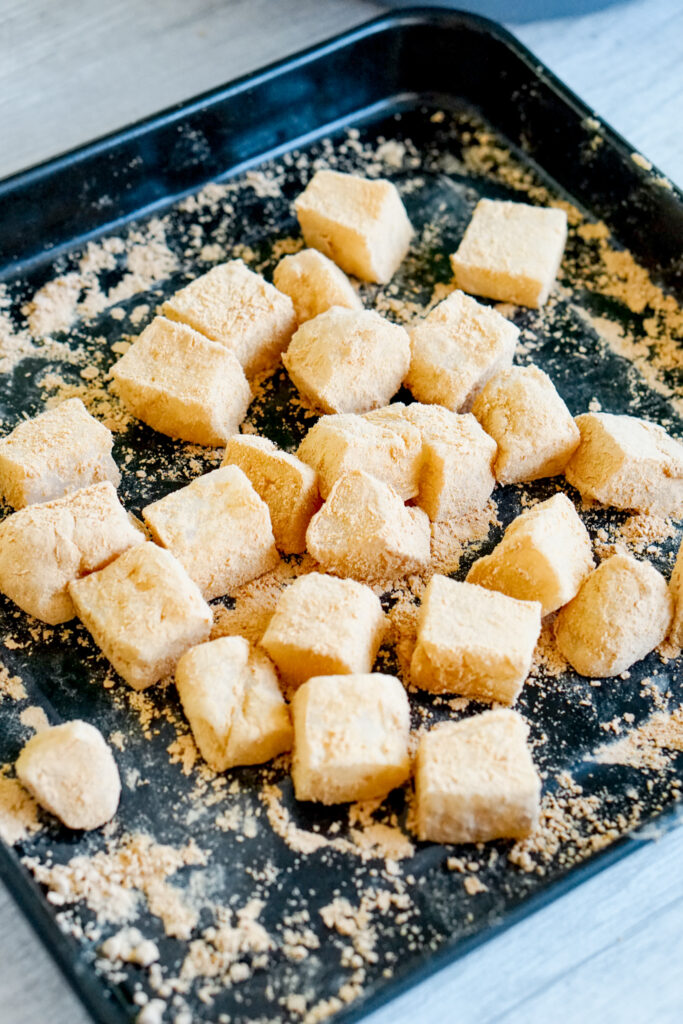
- Transfer to a small, rectangular container (warabimochi should be about 3/4 inch thick) lined with plastic wrap and lightly sprayed with water. Cover and chill for 15-20 minutes or until the warabimochi is no longer hot to touch. Do not leave warabimochi in the fridge too long, or it will harden and dry out.
- Sprinkle kinako on a clean surface and transfer cooled warabimochi on top. Roughly cut warabimochi into 3/4 inch squares and toss in the kinako to cover all sides.
- You can continue to chill warabimochi for up to another hour to let it completely cool before serving with kuromitsu. Warabimochi should be eaten the day it is made, but leftovers can be kept in an airtight container at room temperature as long as they haven't been covered yet in syrup.
Notes
- Warabimochi is made from honwarabiko, which is expensive and very hard to find, or warabimochiko, which is made from a substitute starch. Common substitute starches are made from sweet potato, tapioca, or Japanese arrowroot. Tapioca starch is fairly easy to find in American grocery stores, so you can use that as a substitute even if you can’t find a pack of warabimochiko. Arrowroot starch is also fairly common but may have some slight differences in texture compared to Japanese arrowroot. Use at your own discretion.
- I’ve seen different directions for how to cook warabimochi on stovetop. My specific bag of warabimochiko instructed to boil the liquid and then turn down the heat and that the finished product would be not be completely translucent. I’ve seen other instructions that say NOT to let the mixture boil and that you should cook until perfectly translucent. I assume the differences may depend on the type of starch used. For me, I did not have to wait until the mixture boiled to see the liquid starting to clump up into a jelly, so I turned the heat down at that point and continued cooking until almost all the liquid was gone and the resulting product was fairly translucent and evenly colored.
- You can add more water if you like a softer texture, but the end result will be more blobby and not quite nicely cut into rectangles. I frequently like to use around 600mL water when I want something super soft and stretchy.
- You can buy kuromitsu at Japanese markets, but it’s also fairly easy to make at home. See blog post for a link to the recipe.