

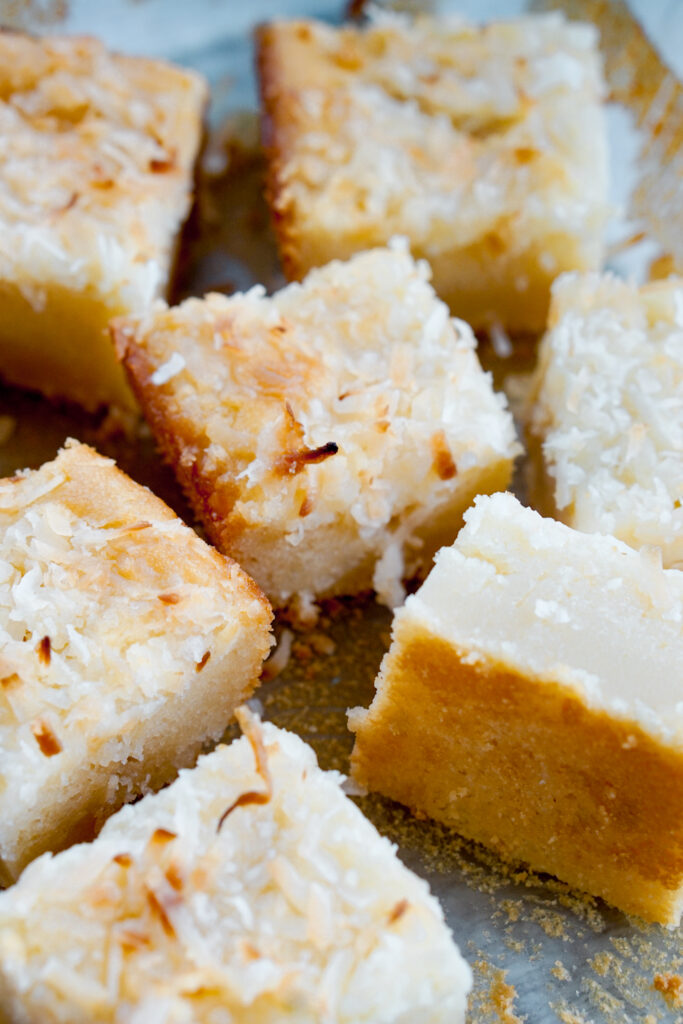
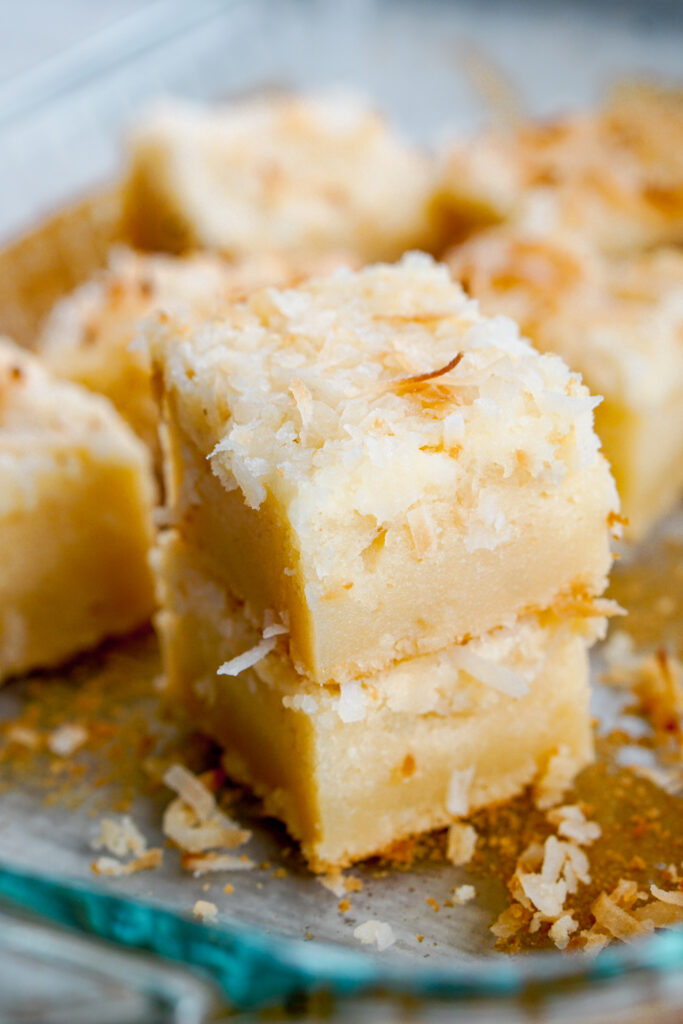
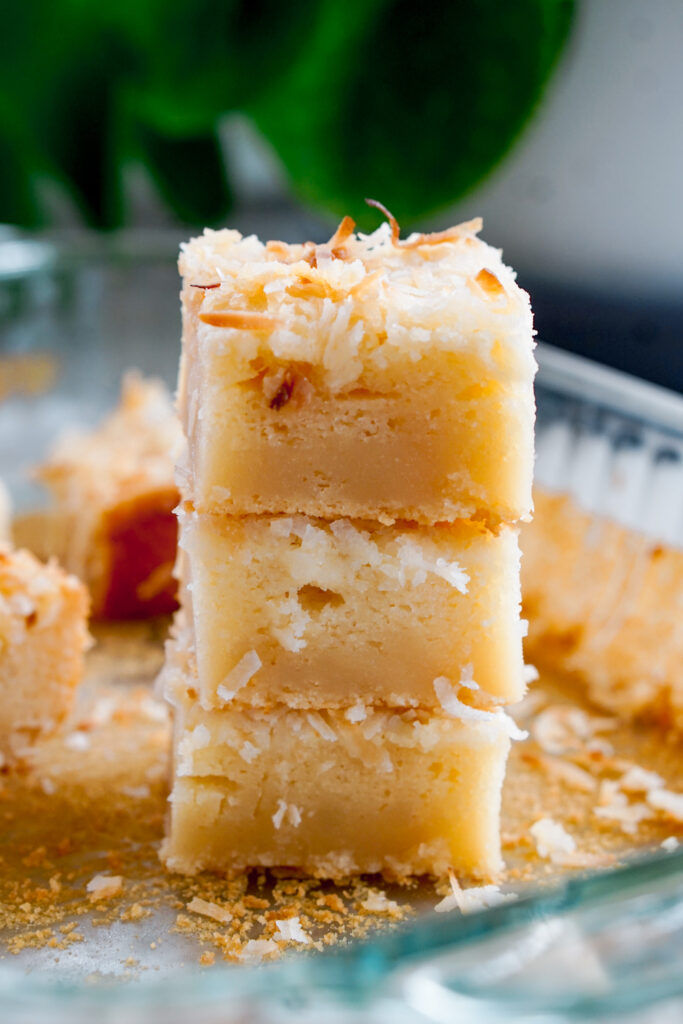
Butter mochi is a local snack from Hawaii that is made with mochiko. It’s super easy to make and perfect for baking beginners. There are many different variations out there, but this plain recipe is a classic. Add optional shredded coconut on top for a little crunch.


What is Butter Mochi?
Butter mochi is a well known Hawaiian food that is, at its core, a mochi snack cake.
Mochi? Snack cake? Hawaiian?
If those descriptors didn’t already sell you on butter mochi, then you probably should find another food blog to visit. Because butter mochi is AMAZING (or insert whatever slang is currently relevant. Bussin? Slaps? I’m a millennial. Send help).
Made from mochiko, the a glutinous rice flour made from mochi rice, this cake is baked in a 9×13″ pan and cut into rectangles. It’s chewy, dense, bouncy, and the perfect flavor balance of sweet and salty.
Authentic Butter Mochi Recipe? Is Butter Mochi Japanese?
Butter mochi has become super popular on the internet the past few years, and I’ve noticed some people requesting an “authentic” butter mochi recipe. On the one hand, I understand that there are many food bloggers out there with absolutely no connection to Hawaii or the Hawaiian community who are posting butter mochi recipes for popularity.
On the other hand, it’s funny to hear a food such as butter mochi, borne of immigration and clash of cultures in a new land, being discussed as “authentic” or not. Nobody even knows if the original recipe came from Japanese or Filipino immigrants to Hawaii, or both! And you never hear anyone asking for an “authentic” brownie recipe do you? Or “authentic” cookie?
So what would make a butter mochi recipe authentic?
When I look in my catalog of recipes from family friends, relatives, and old church cookbooks written by Japanese immigrants to Hawaii, there are literally dozens of slightly different butter mochi versions. Depending on the ratio of different ingredients, you can make your butter mochi more cakey and airy, or more dense and chewy. It’s completely up to your preference, and none is more authentic than the other (as they seemingly all came from Hawaiian locals). What they generally have in common is that they use mochiko and typical cake ingredients (e.g. eggs, milk, butter). Many use canned ingredients such as coconut milk, evaporated milk, and condensed milk. All of them are very easy to make (just mix everything together and bake). They aren’t fussy or fiddly, and they’re definitely meant to share.
How to Make Butter Mochi
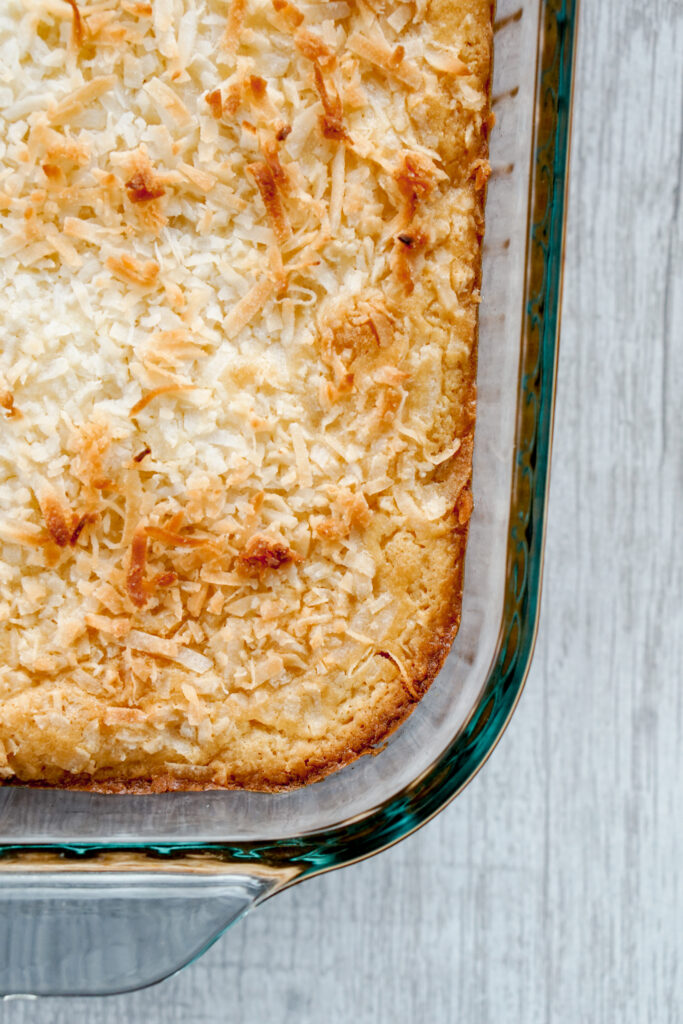
To make butter mochi, simply mix your dry ingredients (mochiko, sugar, salt, baking powder) with your wet ingredients (coconut milk, evaporated milk, eggs, melted butter). Pour into a greased 9×13″ pan (I use a pyrex) and bake at 350 degrees F for an hour. That’s it!
How to Store Butter Mochi/Can You Freeze Butter Mochi?
Leftover butter mochi can be stored in an airtight container at room temperature for a few days.
And yes, you can freeze butter mochi! My friend Katie, whose mom is from Hawai’i, taught me to wrap and freeze individual pieces of butter mochi. You can let a piece defrost at room temperature before eating, or you can zap it in the microwave to heat it up.

Is Butter Mochi Gluten Free? Is Butter Mochi Vegan?
Yes, butter mochi is gluten free! It’s made with mochiko, which is a Japanese rice flour and contains no gluten.
Most butter mochi recipes are NOT vegan, however. They usually use dairy and eggs.
Butter Mochi From Scratch vs. A Mix
A few years ago, Trader Joe’s came out with a box mix for mochi cake, which people went wild for. Prior to Trader Joe’s, there were other Hawaiian brands of butter mochi mixes as well. But if you see how easy it is to make butter mochi from scratch, you won’t bother with the mixes. The only step it saves you is mixing the sugar and baking powder together with your mochiko.
AND if you take a look at my blog post comparing Trader Joe’s box mix with my recipe from scratch, you’ll see there’s a big difference. From scratch is way better!

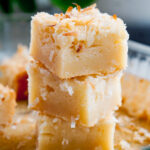
Shredded Coconut Topping – Yay or Nay?
This may be a controversial addition to my recipe: shredded coconut. I LOVE shredded coconut on top for a little crunch. Jeremy HATES it. Other friends from Hawaii have been split – they either love or hate it.
But good news for everyone: shredded coconut is totally optional. If you want the shredded coconut, simply sprinkle on top of your batter before putting it in the oven. And if you don’t want it, then don’t.
By the way, a hack for you coconut lovers – KEEP YOUR COCONUT IN THE FREEZER! Seriously, just stash that bag in an airtight container in the freezer. When you need it for your butter mochi (or other desserts), you can take it straight from the freezer and onto your mochi! No defrosting needed. Now that’s a pro tip if I ever saw one.
More Butter Mochi Variations
If you love butter mochi and want to expand your butter mochi recipe repertoire (whew, what a tongue twister), check these out!
- Pumpkin Butter Mochi
- Black Sesame Butter Mochi
- Chocolate Butter Mochi
- Matcha Butter Mochi
- Ube Butter Mochi

Classic Local Hawaii Butter Mochi
Equipment
- 9×13" baking pan
Ingredients
- 1 16 oz box mochiko
- 2 cups sugar
- 1.5 tsp salt
- 1 tbsp baking powder
- 1 14 oz can coconut milk
- 1 12 oz can evaporated milk
- 2 eggs
- 1 stick unsalted butter, melted (1/2 cup)
- 1/2 cup shredded coconut optional
Instructions
- Preheat oven to 350 degrees F.
- Mix dry ingredients (mochiko, sugar, salt, baking powder).
- Add in wet ingredients (coconut milk, evaporated milk, melted butter, eggs) and mix until well combined. Make sure to scrape down the sides of the bowl to check for any lumps of mochiko that did not get incorporated into the batter.
- Pour into a greased 9×13" baking pan, sprinkle shredded coconut on top (if using), and bake for an hour, or until a golden brown crust has formed on top and the middle is set.
- Let cool, slice into rectangles, and enjoy! Leftovers can keep in an airtight container at room temperature.