

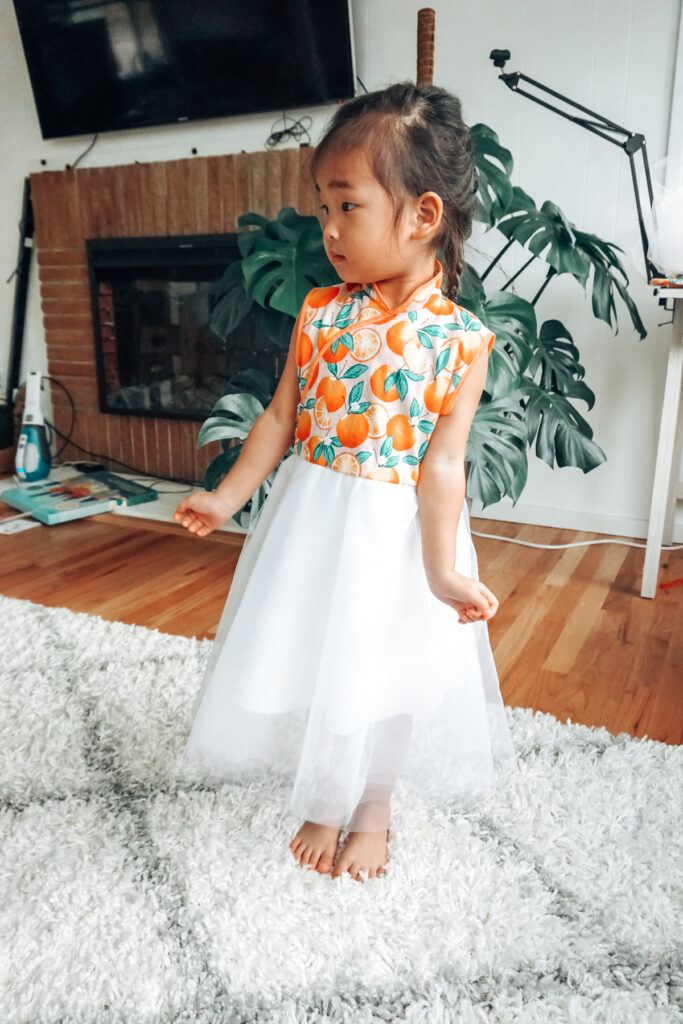
Modern cheongsam dresses combine elements of the traditional Chinese cheongsam (or qipao) with modern western clothing. They can be really difficult to find premade outside of Asia, so I decided to try and sew my own using a free girl’s cheongsam pattern from Porcupine Patterns. Keep reading to see how I altered this pattern to make a cheongsam with a tulle skirt!

Free Girl’s Cheongsam Sewing Pattern from Porcupine Patterns
If you follow me on Instagram, then you know that I’ve been dabbling in sewing clothes for myself and my daughters for the past year and a half. I’ve wanted to try sewing a cheongsam for a LONG time, but as a beginner sewist, it always looked very intimidating.
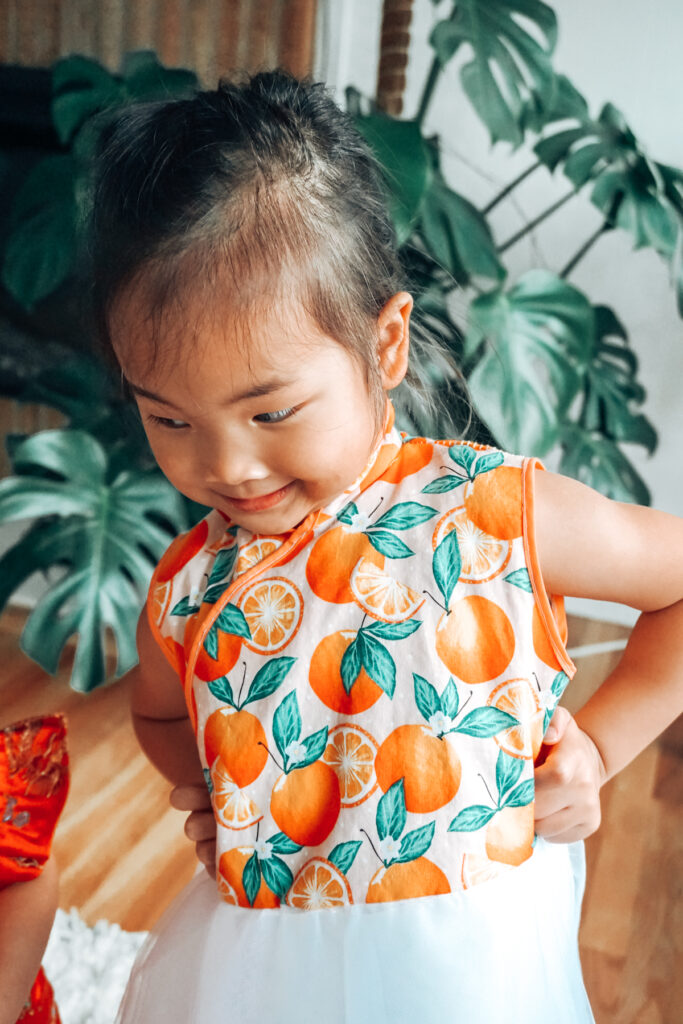
But recently, I realized that if I wanted to sew a more modern cheongsam, I could skip any fiddly bits that scared me – like the frog buttons and closure at the neck. Instead, I could sew everything closed in the front and add one long zipper down the back.
If you are a beginner seamstress like myself, though, I would recommend that, at a minimum, you have experience with sewing a zipper, a collar, and bias binding before attempting a cheongsam. That being said, I used the free girl’s cheongsam pattern from Porcupine Patterns as the base for this dress and found it really easy to follow. There are great blog posts and youtube videos going over in detail how to sew this cheongsam as designed over at the blog Japanese Sewing Books (same owner as Porcupine Patterns). I highly highly highly recommend using this pattern and blog posts for sewing a girl’s cheongsam! The pattern printed perfectly and the instructions were clear and detailed.
Making a Modern Cheongsam with a Tulle Skirt
I apologize right now because this is NOT a sewing blog, and I did not prepare to write this post with step by step photos. Instead, you’re going to get a general idea of how I made this modern cheongsam. If you’re experienced with sewing, hopefully this is enough to inspire your own creation.
Anyway, speaking of modern cheongsam, have you seen many? I am IN LOOOOOVE with all the modern cheongsam I’m seeing come out of Singapore. Cheongsam jumpsuits, cheongsam crop tops, cheongsams with lace and twill and more… I bought a cheongsam jumpsuit and a two piece cheongsam top and a-line skirt myself.
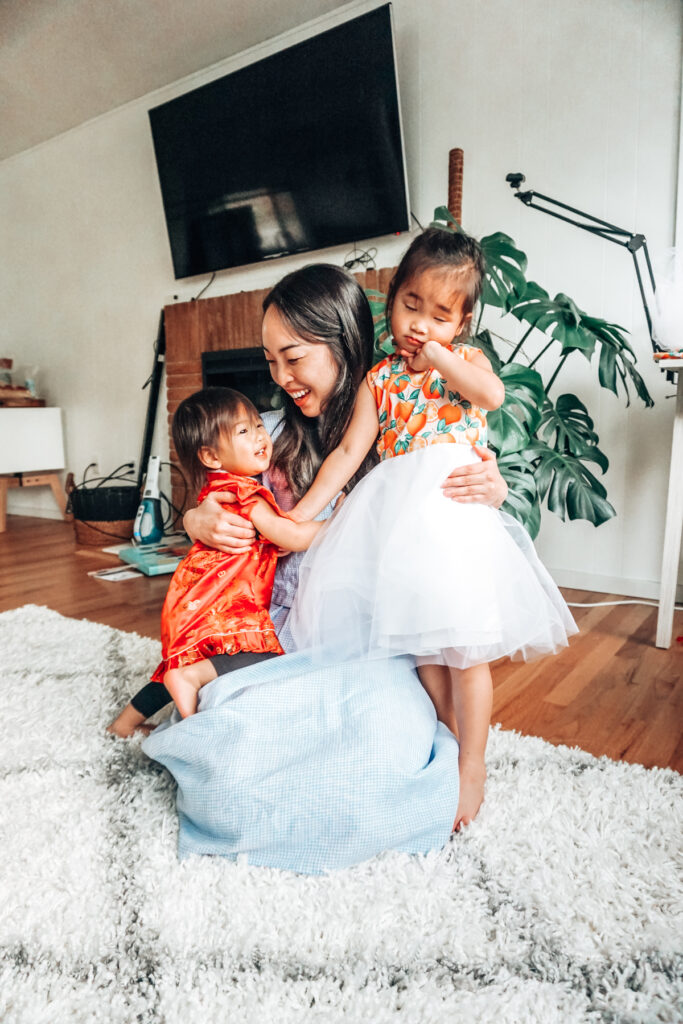
But anyhow, my 3 year old is obsessed with “princess dresses,” which to her means anything with a fluffy tulle skirt. So of course, I decided to add a tulle skirt to her cheongsam. I measured the length of her torso from her shoulder to waistline/where I wanted the skirt to start. Using the free pattern I downloaded, I simply traced and cut my fabric only to that length.
Instead of cutting the back collar and back pieces as single pieces on a fold, I cut two of each and added a 1cm sewing allowance to account for the zipper that would go along the back. I sewed the cheongsam top mostly as directed, but instead of using snap buttons at the front flap, I simply sewed it shut.
Sewing the Tulle Half Circle Skirt
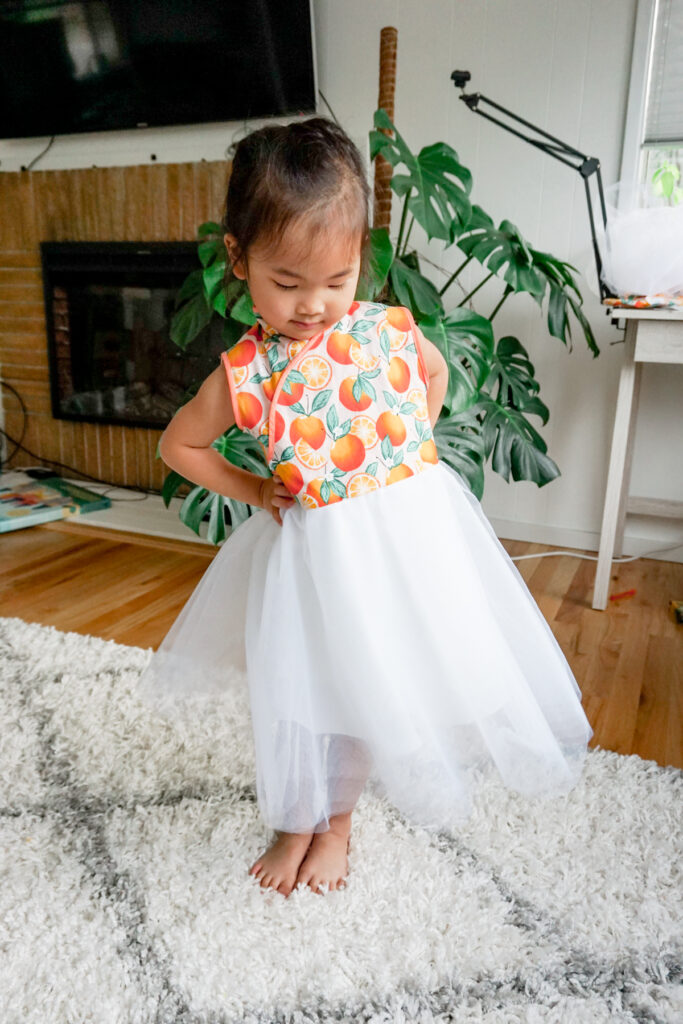
Before inserting the zipper down the back, I made and attached the tulle skirt. I cut 5 layers of a half circle skirt out of white tulle. In order to get the gathers, I used 1.5x the measurement of my daughter’s waist. The lining was made using leftover fabric. I didn’t have enough for a half circle, so I just used a quarter circle skirt with no gathers.
To attach the skirt, first I did a basting stitch along the side edges of the tulle skirt. Then, I did another basting stitch to hold the tulle layers and lining together, then sewed it to the bottom of the cheongsam top. Finally, I added the zipper, going from the top of the collar, down the back, and to the upper part of the tulle skirt.
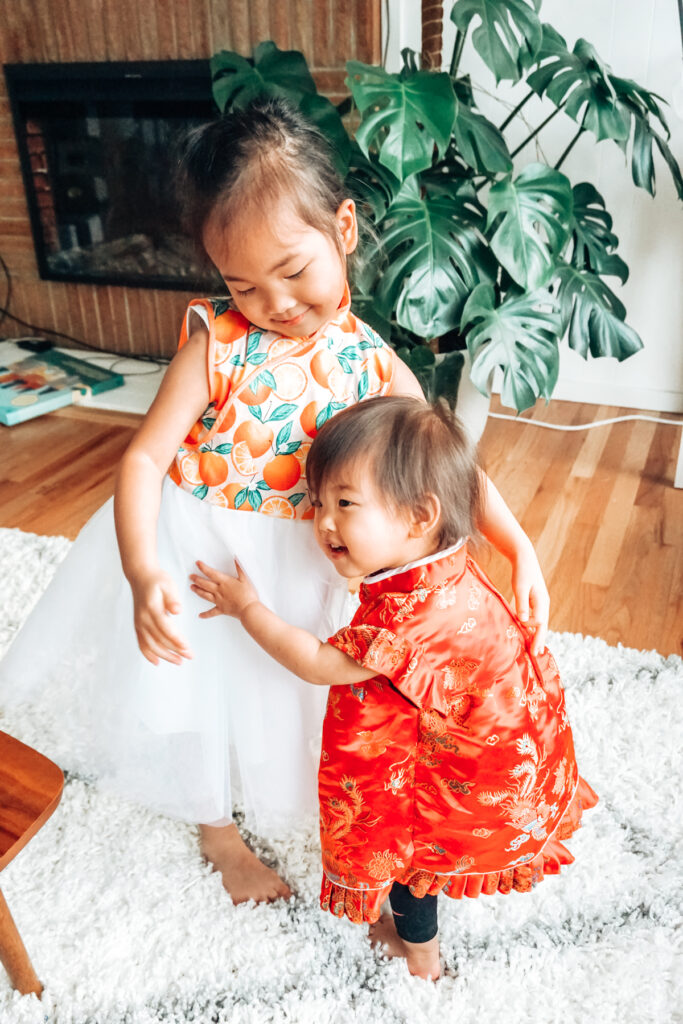
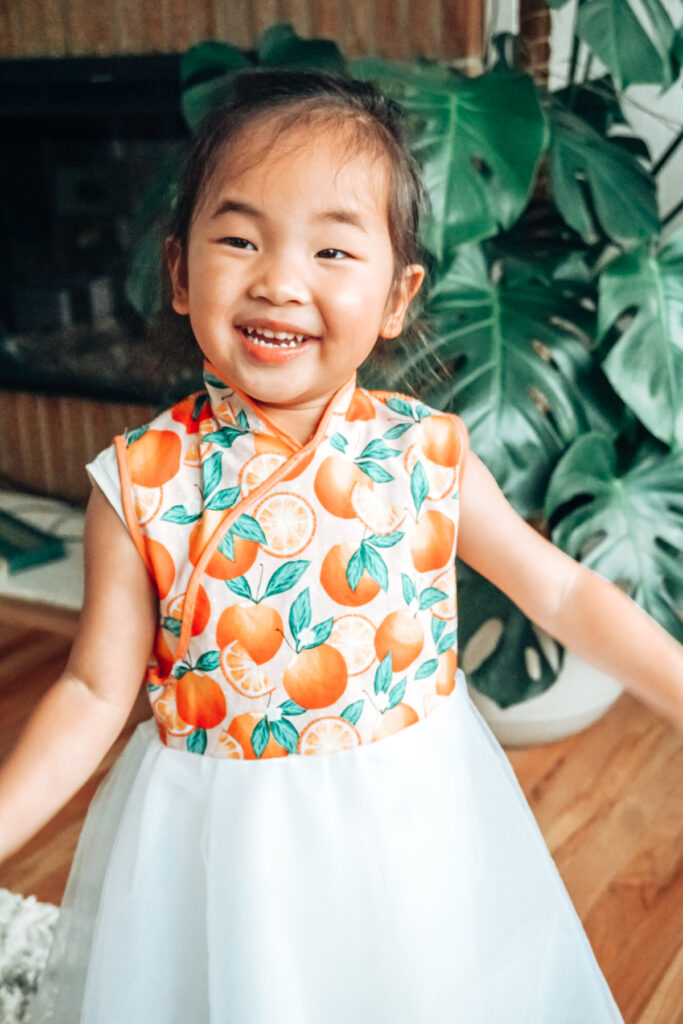
I am definitely NOT the greatest at sewing. If you look closely (please don’t), you can see that there are spots that my bias binding didn’t catch the fabric (lol). And I didn’t properly serge the edges of my fabric before attaching the zipper. Aaaaand the back panels don’t exactly line up at the waist line. BUT DOESN’T IT STILL LOOK DARN CUTE?? I’m very pleased with the end result, despite all my mistakes.
Again, I’m sorry I don’t have the step by step photos. This is not really a tutorial post; it’s more of an inspiration post. But please let me know if you have any questions! Or, if you’ve read this and now you’re like “screw this, I’m just going to buy one,” you can get a custom cheongsam made by my friend Angeline at a.oei studio or one like my younger daughter’s off Amazon. And if you have recommendations for other cheongsam sewing patterns, send them my way! Happy Lunar New Year!